
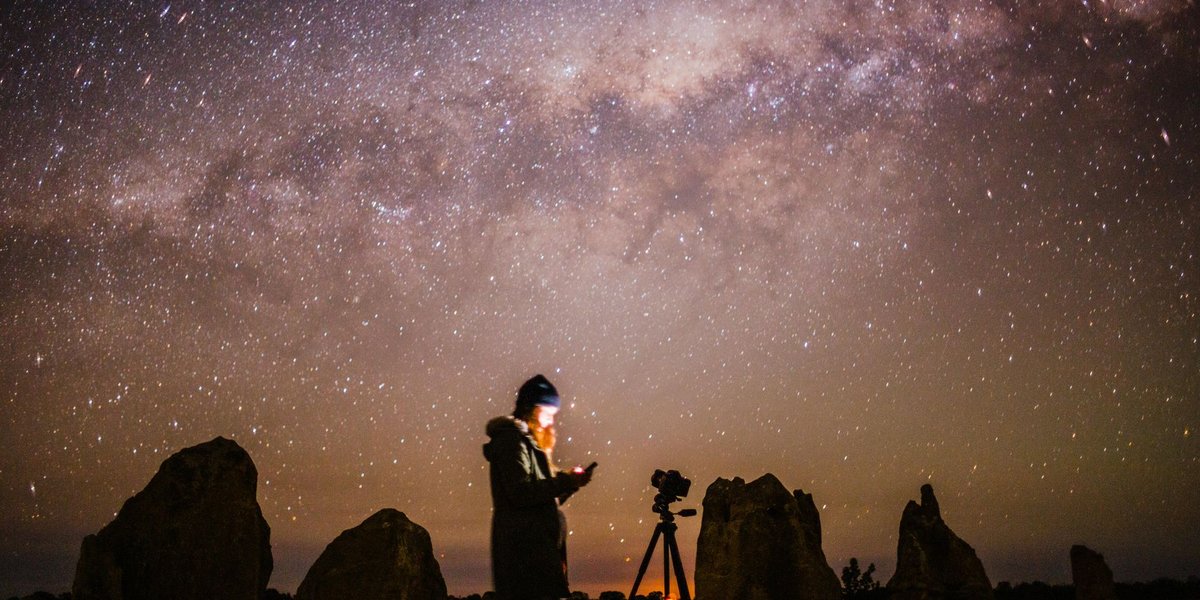
You already own a camera and a tripod, and your Milky Way shots are fine but soft, noisy, or ruined by a fogged lens at 1 a.m. The accessories that fix those problems are few and mostly cheap. The ones that don’t help are the ones most gear lists push hardest.
This guide sorts night sky photography gear by priority: essentials first, upgrades second, nice-to-haves last, then a skip list and three complete kits. Prices are approximate US street prices and move around.
TLDR
- Buy first: a sturdy tripod, an intervalometer (or a camera that has one built in), a red headlamp, and a spare battery or two.
- Buy next: a star tracker, a USB dew heater strap, and, only if your sky is badly light-polluted, a clip-in light pollution filter.
- Buy later, if ever: a Bahtinov mask, a DC power setup, a cleaning kit.
- Skip: cooled cameras, autoguiding rigs, “star filters,” and cheap travel tripods.
- Under $100 gets you shooting reliably. Around $1,000 gets you tracked, low-noise Milky Way images.
Table of contents
- Essentials: buy these first
- Upgrades: where the image quality jumps
- Nice-to-haves
- What to skip
- Mirrorless and phone shooters
- Three example kits: $100, $300, $1,000
- How the pieces work together on a shoot
Essentials: buy these first
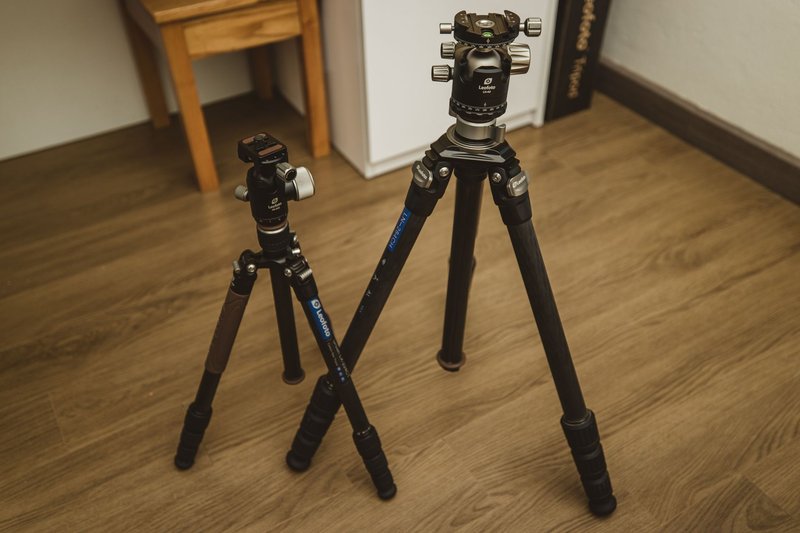
A tripod that doesn’t flex
Solves: blur from wind and from your own touch. Night exposures run 15 to 30 seconds untracked, and a tripod that sways or creeps under a loaded camera ruins them.
Who needs it: everyone. If your current tripod wobbles when you tap the lens, this is the first upgrade.
Price: $60 to $250.
Picks: at the low end, any aluminum tripod rated for at least twice your camera-plus-lens weight. In the $120 to $250 range, Sirui, Benro and Manfrotto all make aluminum or carbon models that stay stiff at full height. Skip the center column extension where you can; it’s the wobbliest part. A ball head that locks firmly matters as much as the legs. Swinging a heavy lens to the horizon and having it droop is a common failure.
An intervalometer
Solves: shutter shake and the limit of your camera’s longest timed exposure. Pressing the shutter button moves the camera; a remote or a two-second timer doesn’t. An intervalometer also fires repeated frames for stacking and for star trails.
Who needs it: anyone shooting longer than 30 seconds, stacking frames, or building star trails.
Price: $15 to $40 for a wired, third-party model. Check your camera’s menu first. Many recent Nikon, Canon, Fujifilm and Sony mirrorless bodies have an interval timer built in, and some Sony bodies need an app instead of a menu setting. If yours has one, this purchase drops to zero.
Picks: a Neewer or Vello wired remote matched to your camera’s port. Buy the exact connector for your body; the plug types are not interchangeable.
A red headlamp
Solves: losing your night vision. Your eyes need roughly 20 to 30 minutes to reach full dark adaptation, and a white light resets it in a second. Red light keeps most of it, and it doesn’t wash out the shot of the person standing next to you.
Who needs it: everyone. A phone torch is not a substitute; most are too bright, and the red filter option is fiddly in gloves.
Price: $20 to $50.
Picks: the Petzl Tikkina or Black Diamond Spot both have a dedicated red mode with dimming. Look for one where red is the first mode you land on, so you aren’t cycling through white at a dark site.
Spare batteries
Solves: a dead camera at 2 a.m. Lithium-ion cells lose capacity as temperatures drop, and long exposures, live view, and a screen set to full brightness all drain faster than daytime shooting.
Who needs it: everyone, with the loudest warning for mirrorless owners, whose electronic viewfinders and sensors run constantly.
Price: $20 to $35 per third-party battery; $50 to $90 for genuine ones.
Picks: at least one spare. Keep it in an inside pocket against your body, and swap warm for cold when the first one sags.
Upgrades: where the image quality jumps
A star tracker
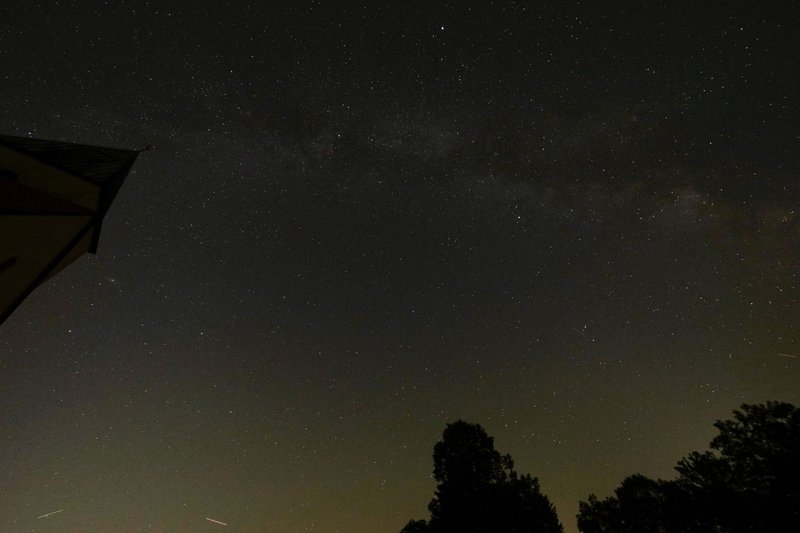
This is the biggest upgrade on the list. A star tracker is a motorized mount that turns your camera at the same rate the sky rotates, so the stars stay sharp during much longer exposures.
Solves: the exposure limit. Untracked, a wide lens gives you about 15 to 25 seconds before stars streak, and that’s what forces you to raise ISO and accept noise. Tracked, you can expose for one to three minutes at wide focal lengths, drop ISO, and see far more faint detail in the Milky Way.
Who needs it: hobbyists who’ve hit the noise ceiling and want cleaner Milky Way and nebula-rich wide shots. If you only post to social media at phone-screen size, you may not.
Price: $300 to $550 with a polar alignment wedge.
Picks: the Sky-Watcher Star Adventurer 2i and the iOptron SkyGuider Pro are the two most common starting points. Both run on portable power and carry a camera with a lens up to roughly 200mm if you’re careful about balance. Plan to learn polar alignment, which takes a few evenings. Budget for a sturdier ball head, because the tracker puts the camera’s weight further from the tripod’s center.
One trade-off to know about: a tracker blurs the foreground. Most photographers shoot a tracked sky exposure and an untracked foreground exposure, then blend them.
A dew heater strap
Solves: condensation on the front element. On humid or clear, cold nights, a lens can fog over in under an hour, and a fogged shot can’t be fixed in editing.
Who needs it: anyone shooting more than 30 minutes in one spot, anywhere humid, or near water.
Price: $25 to $60 for a USB-powered strap, plus a power bank you may already own.
Picks: a USB heater strap sized to your lens barrel, like the ones sold by Astro Zap, Lacerta and a number of generic brands. A longer lens hood helps a little but doesn’t replace a heater.
A light pollution filter (conditionally)
Solves: the orange-grey wash of suburban skies, by blocking wavelengths that streetlights emit.
Who needs it: only people shooting from Bortle 5 to 7 skies who can’t travel, and mostly those using a tracker. For the International Dark-Sky Association’s darker sites, a filter does little. For wide-field Milky Way shots, a broadband filter also shifts color and dims real stars, so you will do more color correction than you expect.
Price: $80 to $200 for a clip-in filter that sits inside the camera body, or $100 to $250 for a screw-in version for a single lens.
Picks: an Optolong L-Pro or L-eNhance, or a Kase or Haida clip-in, depending on your camera mount. The cheaper and more reliable “filter” is a one-hour drive to a darker site.
Nice-to-haves
- Bahtinov mask ($15 to $40): a printed or laser-cut mask that makes focus on a bright star easy. It’s useful for telephoto lenses and telescopes. For wide lenses, zooming into live view on a bright star works fine.
- DC power or a camera battery grip ($50 to $150): useful for all-night time-lapses and star trails. Overkill for shorter sessions.
- Lens cleaning kit ($10 to $20): a rocket blower and a microfiber cloth. Don’t wipe a dewed lens; the grit scratches coatings. Blow first, wipe only when dry.
- Foldable ground sheet or kneeling pad ($10 to $20): not exciting, but you’ll be sitting beside a tripod for hours.
What to skip
- Cooled astro cameras and autoguiding rigs. These are deep-sky tools for tracking a single nebula for hours through a telescope. They are not beginner night-sky gear, though a few roundups list them that way.
- “Star filters” and soft-diffusion filters. They add glow to stars and make the sky mushy. The effect is simple to fake and hard to undo.
- Ultralight travel tripods. They save a kilogram and cost you every shot on a windy hill.
- Long-range cheap remotes. An infrared remote that must see the camera is unreliable in the dark. Get a wired or Bluetooth one.
- A fast lens as an “accessory.” It’s a lens, and it deserves its own budget conversation. The cheaper win is stopping down slightly and shooting more frames to stack.
Mirrorless and phone shooters
Mirrorless. The accessories above apply, with different priorities. Battery life becomes the first upgrade rather than the fourth, because the sensor and EVF are always on. Built-in interval timers and focus-peaking features are common, so an external intervalometer may be unnecessary. Check for a body-specific clip-in filter before buying one; Sony, Nikon and Canon mirrorless systems each have their own filter format.
Phones. A modern phone’s night mode handles skies better than most people expect, and it needs only two things: a tripod with a phone clamp (about $15 to $30) and a Bluetooth remote or the self-timer, to avoid touching the screen. Don’t buy clip-on lenses or star filters for a phone. Choose a dark site and the right moon phase; NASA’s moon phase calendar is the quickest way to find a new-moon weekend, which makes a bigger difference than any accessory.
Three example kits: $100, $300, $1,000
Around $100: reliable and repeatable
- Basic aluminum tripod: about $45
- Wired intervalometer (or none if built in): about $15
- Red headlamp: about $20
- One third-party spare battery: about $20
This kit won’t improve the image. It stops the problems that ruin shoots: wobble, shutter shake, a lost night vision, and a dead battery.
Around $300: comfortable for longer sessions
- Stiffer tripod and a locking ball head: about $130
- Intervalometer: about $20
- Red headlamp: about $30
- Two spare batteries: about $50
- USB dew heater strap and a power bank: about $60
You can now shoot an all-evening session in the damp without the lens fogging, and you’ve got enough battery to do it.
Around $1,000: tracked Milky Way
- Sturdy carbon or aluminum tripod: about $200
- Heavy-duty ball head: about $120
- Star tracker with wedge: about $400
- Intervalometer: about $20
- Red headlamp: about $30
- Two spare batteries: about $50
- Dew heater strap and power bank: about $60
- Cleaning kit: about $15
- Clip-in light pollution filter: about $100 (skip if your sky is already dark)
Prices vary by region and sale cycle, and the exact total lands between $950 and $1,100.
How the pieces work together on a shoot
Here’s the order a typical night follows, so the gear makes sense in context:
- Arrive before dark. Set up the tripod on level ground, with one leg pointed toward the target. Fit the dew strap while the lens is still warm.
- Dim your screen and switch to red light. Use the headlamp’s red mode only.
- Focus. Zoom into live view on a bright star and adjust until it’s a pinpoint. Tape the focus ring if your lens drifts.
- Set the intervalometer. For untracked shots, a 15 to 20 second exposure at a wide focal length keeps stars round. With a tracker, polar-align and move to one to two minutes.
- Check the lens every 20 minutes. Add a battery swap at the first sign of capacity dropping, and keep the spare in an inside pocket.
- Shoot the foreground separately. If you used a tracker, take a short untracked frame of the ground to blend later.
None of this needs expensive gear. A tripod that stays put, a remote that doesn’t shake the camera, a red light that preserves your eyes, and enough battery to last until the Milky Way clears the horizon will beat a bag of unused filters every time. Start with the essentials, add the tracker when noise is the thing holding your shots back, and spend the rest on the drive to a darker sky.