")
It can be hard to assess how good a telescope really is just from reading the specifications sheet. Just seeing some numbers in a table doesn’t really tell you much about whether or not a telescope will match your expectations.
A person’s first telescope can make or break their stargazing experience for life. If they go with a low-quality product or have higher expectations about what they are going to see through it, they can end up disappointed and might never give it another try. This is why it is so important that you know what to expect from your telescope and understand what you are going to see with it.
In this article, we are going to focus on 70mm telescopes as they are quite common and they are one of the most typical ranges.
What does “70mm” mean?
Whenever you see a number with a unit behind a telescope name it usually refers to the telescope’s aperture. The aperture in a telescope is the size of the frontal lens or mirror, the one that captures the light.
In the case of 70mm telescopes, the “mm” stands for millimeters and is equivalent to 2.7 inches.
Who are these telescopes good for?
70mm telescopes are entry-level products. They are made for kids and teenagers who are curious about astronomy and are looking to get their first telescope.
Scopes in this range will usually not break the bank. They are some of the cheapest you will find. That doesn’t necessarily mean they are bad, simply that they are made for a specific audience who is just getting started with stargazing.
As a general rule, I’d personally recommend them only for kids under the age of 15 or if you really really want a telescope now but you are on a super tight budget. Otherwise, you might want to make the jump to the 100mm range or higher.
The exception to the rule is if you are looking specifically for a travel/camping telescope. 70mms are usually light and easy to carry around, making them a valid option if you are planning to bring your telescope on trips.
Pros and Cons
Pros
- Generally light and small, easy to carry around.
- Great pricing
- Plenty of options. All the good manufacturers make at least one product in this range.
Cons
- The small lenses lead to a low-resolution image.
- Few options when it comes to magnification. One of the biggest drawbacks of small aperture lenses is they don’t allow you to use high magnification eyepieces. It doesn’t matter if you try to use 300x magnification. It’s going to look the same as 100x magnification because your telescope is gathering a limited amount of light. The highest useful magnification per inch of aperture is 50x, meaning a 70mm aperture can only go as high as 135x magnification.
- They can be outgrown really fast. Someone who enjoys looking at the stars will want to move up really fast.
What can you expect to see with them?
There is no exact data as to exactly how far and how good you can see certain objects with a telescope depending on its aperture because there are other important variables like focal length, magnification, the quality of the lenses/mirrors, and even the weather so consider this section a bit anecdotical.
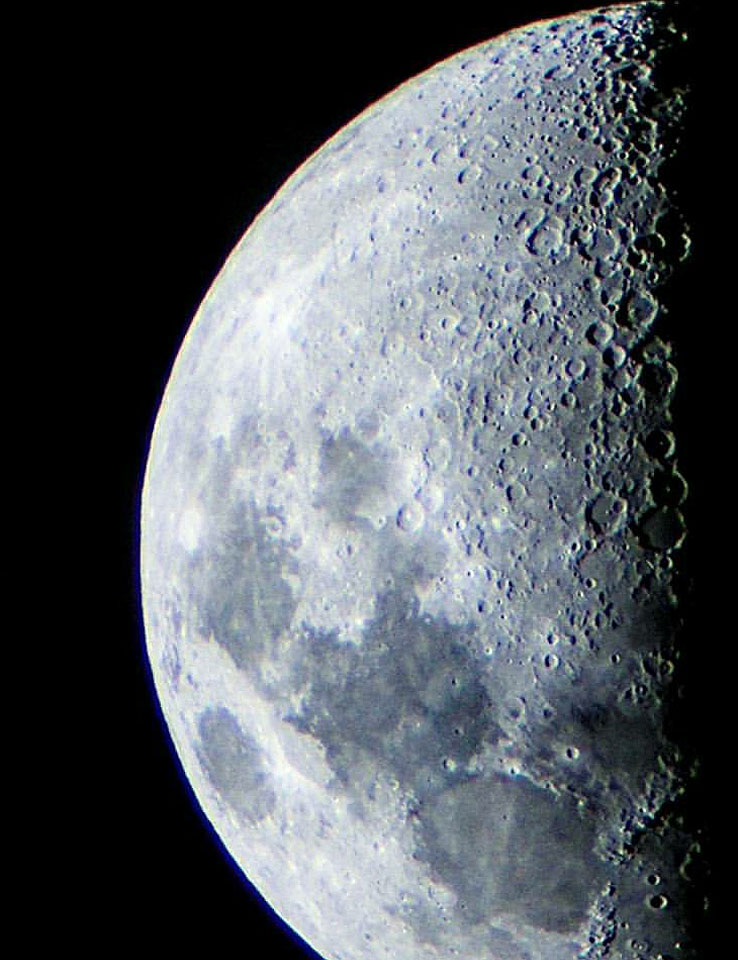
With a 70mm telescope, you will easily be able to see every planet in the Solar System. You will also be able to take a great look at the Moon and clearly distinguish most of its recognizable features and craters.
Mars will look great. With some luck, depending on the viewing conditions and how close it is to Earth, you might be able to distinguish its poles and maybe some of the bigger areas.
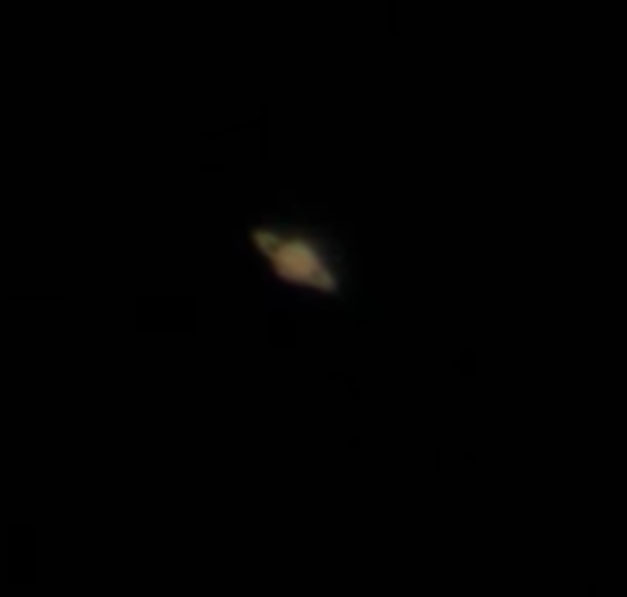
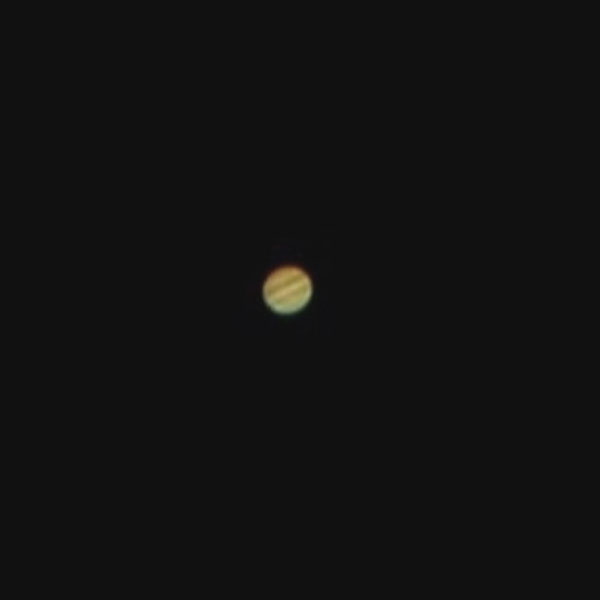
The outside planets beyond the asteroid belt will be seen mostly in one single color and it is unlikely you will be able to capture any of their shades. For example, Jupiter will most likely look like a light yellow spot and Neptune a sky blue dot. Saturn’s rings might be recognizable under certain conditions, but they will look the same color as the planet.
Pluto and the other dwarf planets in the Solar System will most likely be out of reach.
As for stars, some calculations can be made to approximately determine the maximum limit a telescope can reach. A star’s brightness is measured in magnitude. The higher the magnitude, the dimmer the object. The magnitude limit of a 70mm telescope is about 11.9. For reference, the brightest stars in the sky that can be seen with the naked eye like Polaris, Vega, and Antares have a magnitude below 3. Proxima Centauri, a small star with a magnitude of 11 would be an example of a star that can be seen with a 70mm telescope but not with the naked eye.
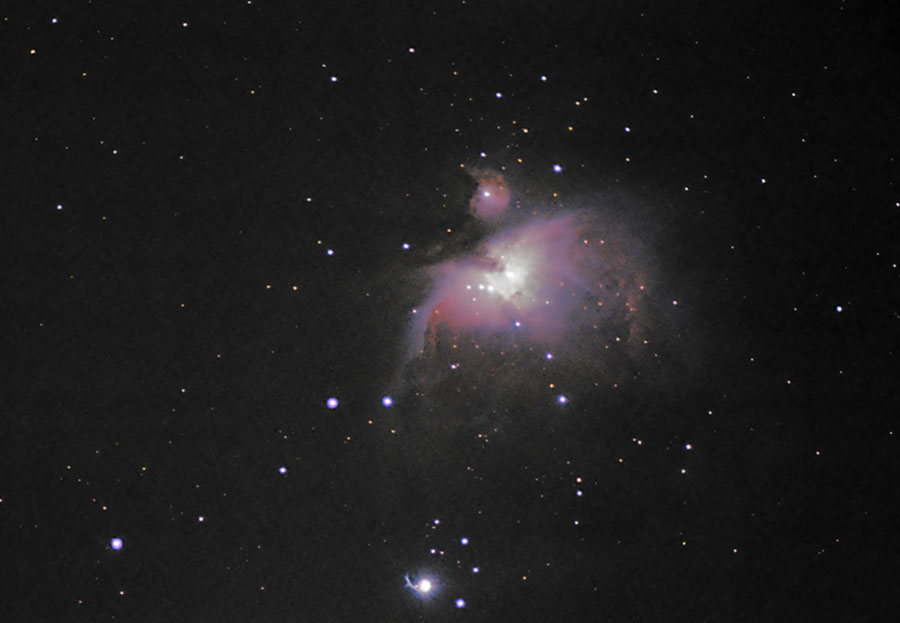
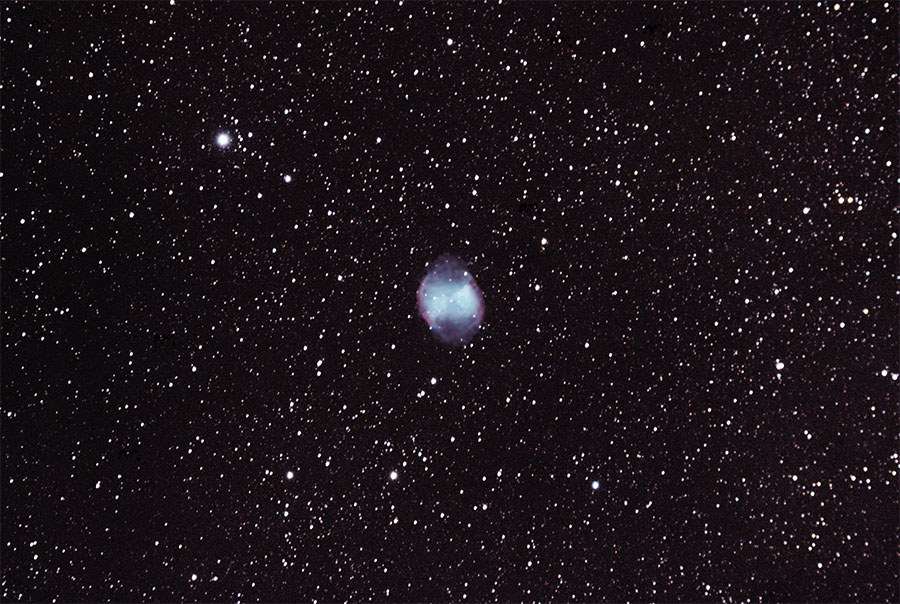
You should be able to see some of the beautiful mixes of colors in nebulas,
Photos taken with 70mm telescopes
Here are some photos that you might find useful to understand what you can expect to see through the lens.
Please note some of these photos might have been taken with long exposure times, meaning they might look with a bit more colors what you would see in real life. Also, not all were taken with exactly 70mm telescopes, some were taken with 68 to 75 lenses, but they should be similar enough.
What are the best telescopes in this range?
Here are our two recommendations of what we believe are the highest quality products in this category. There are not many good Newtonian telescopes in this range so both of them are refractors. If you don’t know what any of that means, don’t worry, you don’t need to understand the differences until you go to a higher aperture.
Celestron Travelscope 70mm
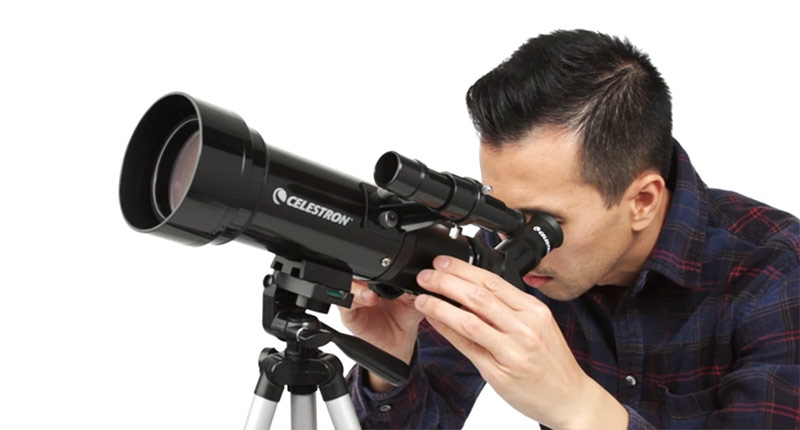
This is one of the friendliest telescopes you could get as a beginner. It’s extremely simple to use, it has solid optic quality, and it comes with all the accessories you need, except for a smartphone adapter.
The tripod is alt-azimuth, which means it is basically “point and shoot”. Setting it up is really fast and should be no problem even for a kid.
It is designed for travel as it has a very compact and light body, and while it’s not the most powerful scope out there, it makes up for it in functionality and ease of use.
The two included eyepieces are low-power, but the TravelScope can support a higher magnification, so you might want to consider getting a 1.5x Barlow lens to increase their power. Here’s an article with our best Barlow lenses recommendations.
The price for the TravelScope is very reasonable for its capabilities.
Orion Observer 70mm
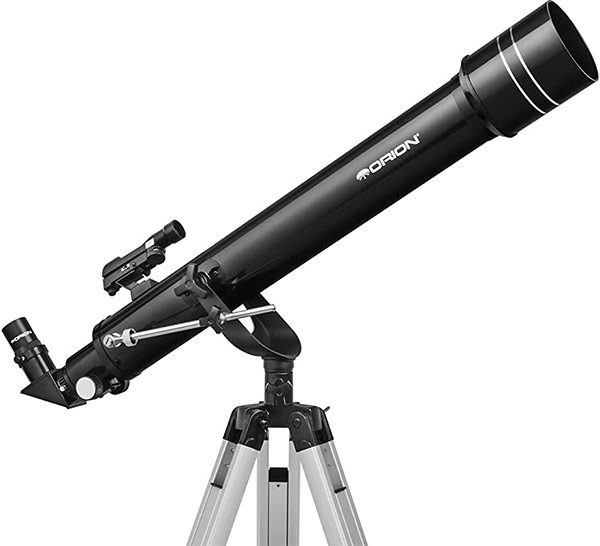
Another great entry-level option. Orion is one of the most recognized brands when it comes to telescope manufacturing because of its consistent quality.
The capabilities of the Orion Observer are very similar to the TravelScope, but what makes it different is that it has a larger focal length (a longer tube). This results in a smaller field of view, but it increases the magnification that can be reached with the included eyepieces. In practical terms, all this is going to mean a better experience when it comes to observing planets specifically.
The included eyepieces are two Kellners, a 25mm, and a 10mm. These will give you a magnification of 70x and 28x respectively, but the Observer can support magnifications of up to 140x so you can complement them with either some higher-powered eyepieces or a 2x Barlow Lens.
If you ask me to choose between this and the TravelScope above, I’d say it depends on how you plan to use it. If you plan to take it camping and on field trips regularly, then get the TravelScope. For backyard viewing, get this one.
I have had the chance to test the Orion Observer against its direct competitor, the Celestron Astromaster 70AZ and I found the optics of the Observer better by a very small margin. Besides that they offer the same specs, so if you can find either on sale, you can’t go wrong.
Enjoyed this article?
Get daily 10-minute PDFs about astronomy to read before bed!
Sign up for our upcoming micro-learning service where you will learn something new about space and beyond every day while winding down.


